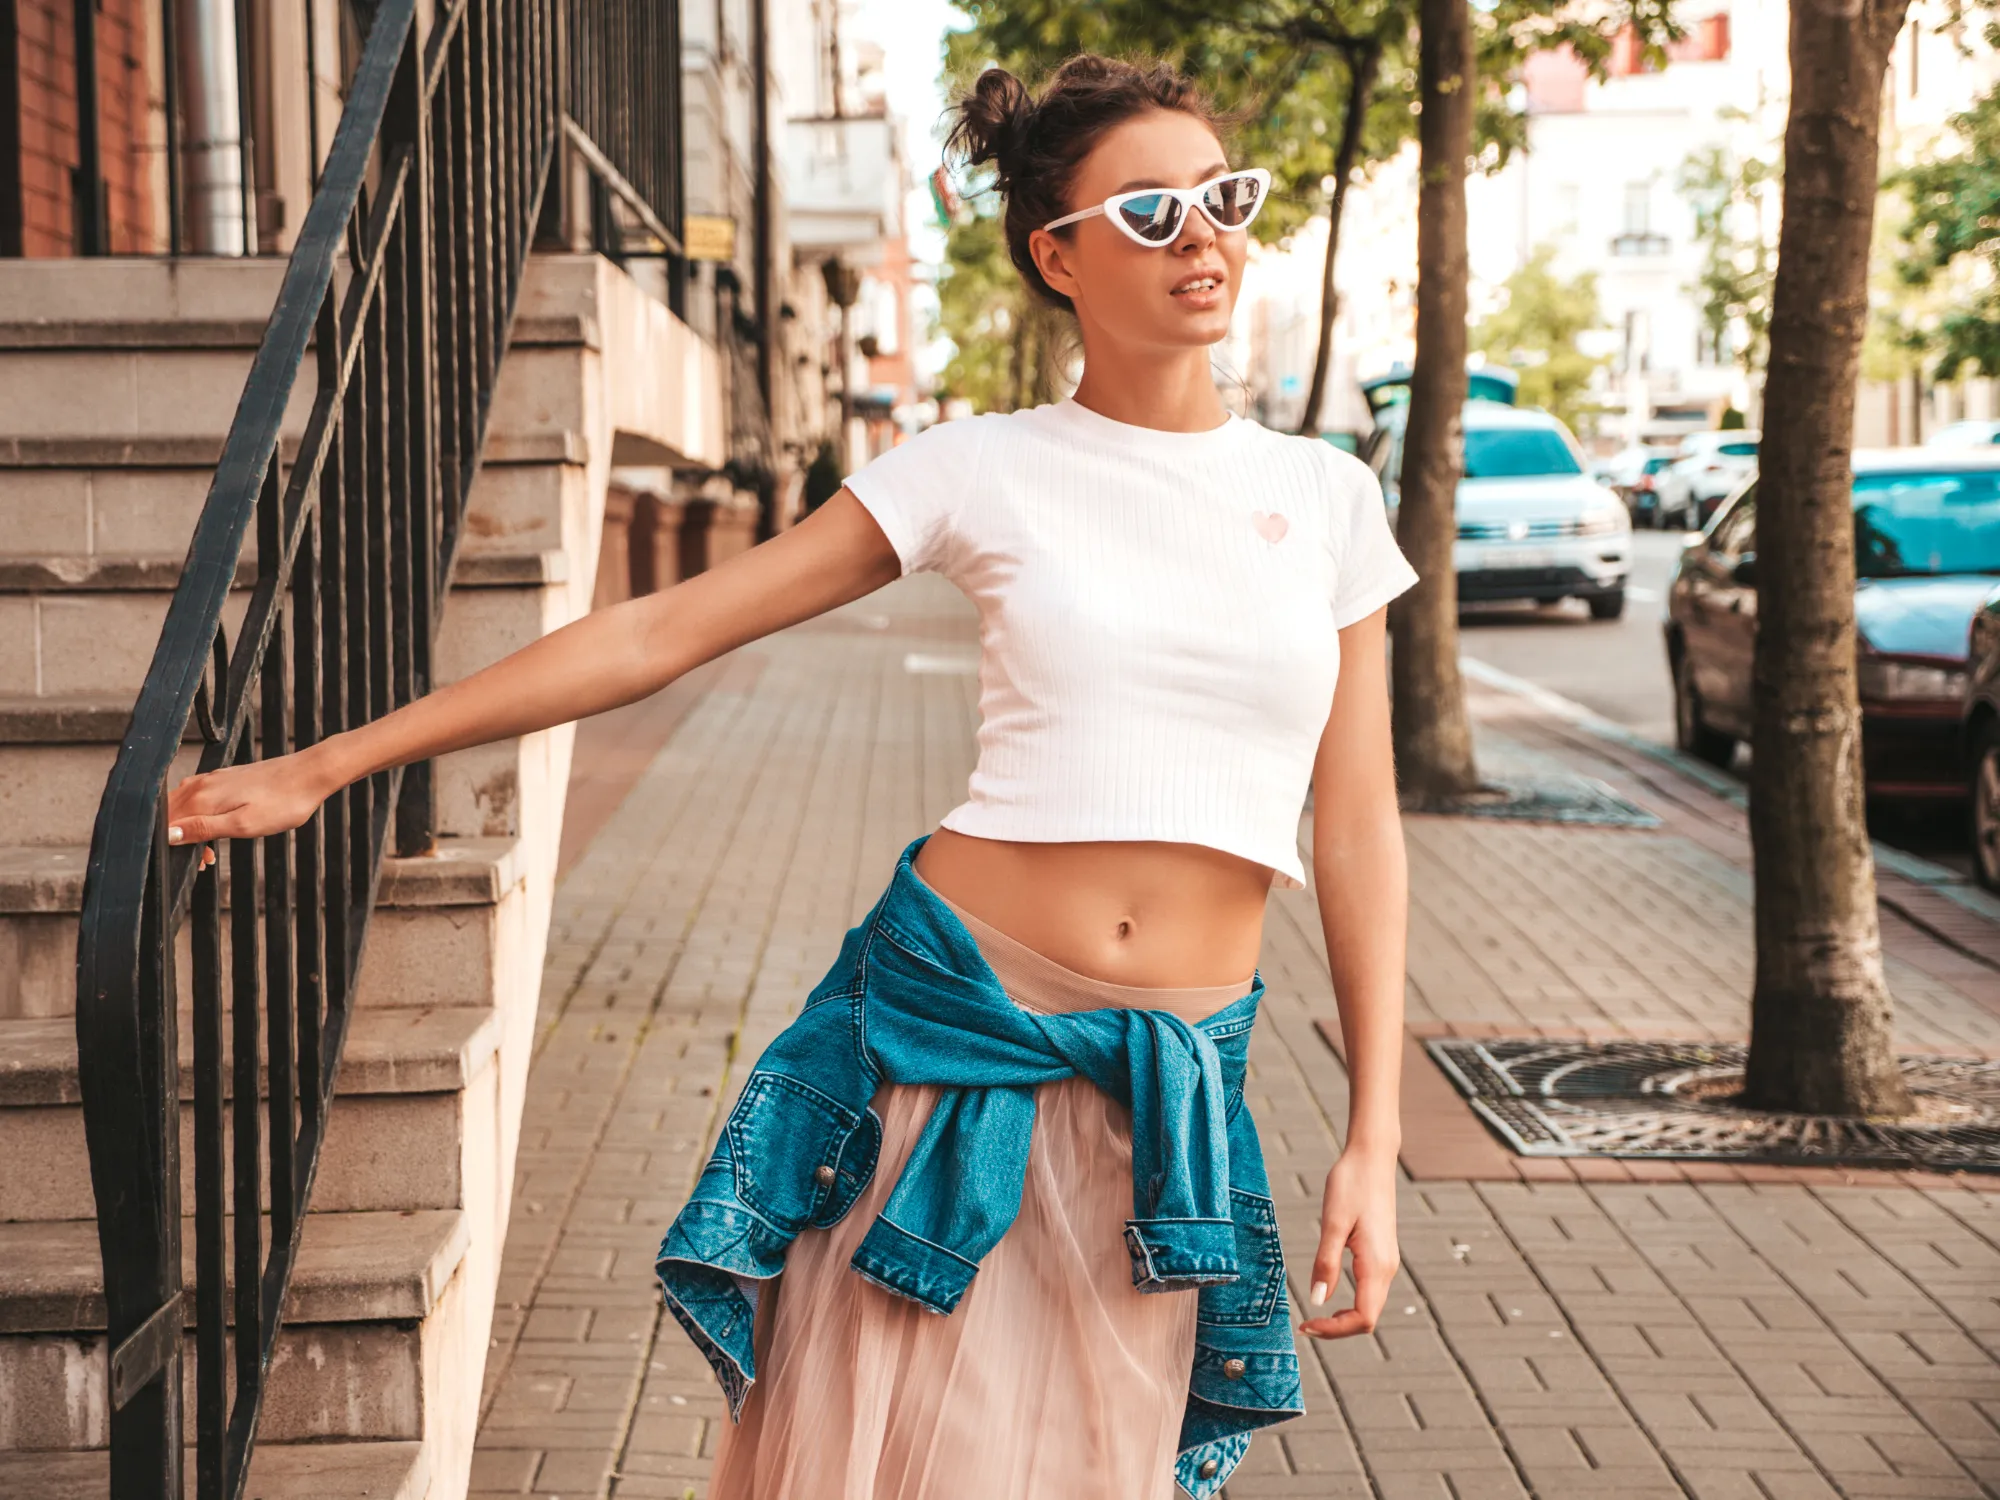
Crop top shirts have become a staple in many fashion-forward wardrobes, offering a trendy and versatile option for any occasion. In this article, we will explore what a crop top shirt is, why it has become so popular, and the materials needed to make one. We’ll also discuss the best fabric for a crop top shirt and provide a step-by-step guide on how to create your own. We’ll share some creative styling tips and provide essential care instructions to ensure your crop top shirt lasts for many wears to come. Whether you’re a seasoned seamstress or a fashion enthusiast looking to try something new, this article has all the information you need to rock a crop top shirt with confidence.
Key Points:
Crop top shirts are a trendy and fashionable clothing item that can be made at home. You only need a few materials and basic sewing skills to create your own crop top shirt. To care for your crop top shirt, wash in cold water, avoid the dryer, and store in a cool, dry place to maintain its shape and quality.
A crop top shirt is a short top that ends above the waist, typically exposing the midriff.
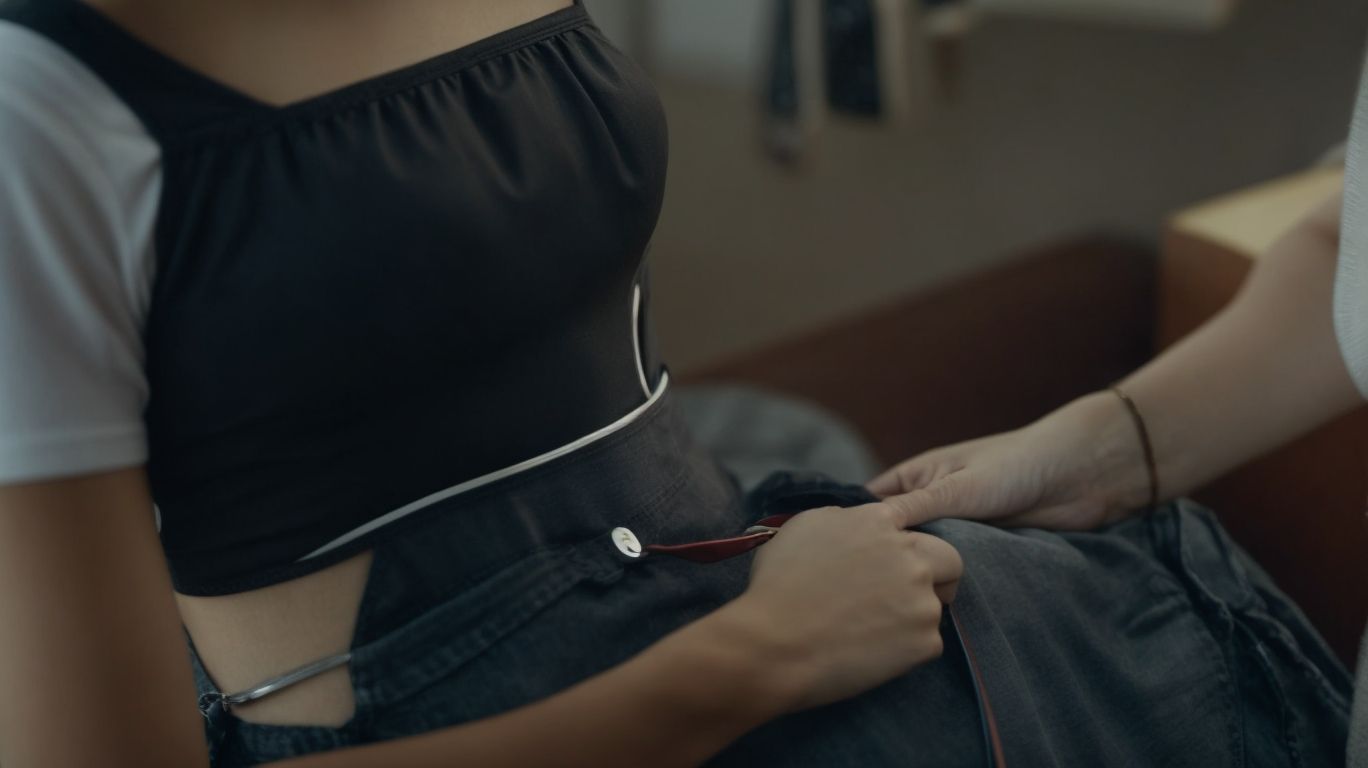
A crop top shirt is a trendy and fashionable garment that is characterised by its shorter length, typically exposing the midriff or a portion of the stomach. It is a versatile piece of clothing that can be styled in various ways, suitable for different occasions and preferences.
With its stylish cut and modern appeal, a crop top shirt can be paired with high-waisted jeans, skirts, or shorts for a casual and chic look.
For a more formal setting, it can be worn with tailored trousers or a high-waisted midi skirt, adding a touch of sophistication to the outfit.

Why is a Crop Top Shirt Popular?
The popularity of crop top shirts stems from their ability to exude a sense of confidence and individuality, making them a preferred choice in the fashion world. They are embraced by fashion enthusiasts and influencers for their versatility and ability to make a bold style statement.
These trendy garments have captured the attention of individuals seeking to showcase their unique fashion sense and express their personality through clothing.
The allure of crop top shirts lies in their ability to effortlessly transition from casual to chic, offering a wide range of styling options. Whether paired with high-waisted jeans for a casual day out or coordinated with a sleek skirt for a night on the town, crop tops effortlessly elevate any look.
The resurgence of nostalgia for the iconic fashion trends of the ’90s has undeniably contributed to the revival of crop top shirts. This revival has resonated with a new generation of fashion-forward individuals, redefining the way crop tops are perceived and styled.
The versatility, paired with a touch of nostalgia and modern flair, has firmly established crop top shirts as a perennial favourite in the fashion world.
What materials do you need to make a crop top shirt?
Creating a crop top shirt requires the selection of suitable materials such as fabric, threads, and embellishments. The choice of materials plays a crucial role in determining the comfort, appearance, and durability of the finished garment.
In terms of fabric, natural fibres like cotton, linen, or silk are popular choices for their breathability and comfort, while synthetic options like polyester or spandex offer stretch and durability.
The threads used for stitching the garment should complement the chosen fabric to ensure strong and secure seams.
As for embellishments, beads, sequins, or lace can add a decorative touch, but it’s important to consider the weight and compatibility with the fabric to maintain the overall balance and drape of the crop top.
Selecting the right materials is essential for achieving a high-quality result and ensuring that the garment meets both aesthetic and functional requirements.
What Fabric is Best for a Crop Top Shirt?
When considering the fabric for a crop top shirt, it is essential to prioritise comfort, breathability, and suitability for the intended style.
Fabrics such as cotton, linen, and silk are popular choices due to their comfort and versatility in creating diverse looks.
For a crop top shirt, cotton is often favoured for its soft, breathable, and moisture-absorbing properties, making it an excellent choice for casual and everyday wear. Its lightweight and durable nature also ensures long-term comfort.
Linen, on the other hand, offers a laid-back and effortlessly stylish vibe, perfect for warm weather due to its breathability and natural texture.
Meanwhile, silk lends an air of elegance and sophistication, making it ideal for more formal or evening occasions. Its smooth and luxurious feel adds a touch of refinement to any ensemble.
Each of these fabrics presents unique characteristics that can elevate the overall appeal of a crop top shirt, ensuring both comfort and style.
How to Make a Crop Top Shirt?

Crafting a stylish crop top shirt involves several key steps, from measuring and cutting the fabric to adding finishing touches such as hemming. Attention to detail and precision are essential in creating a high-quality and visually appealing garment.
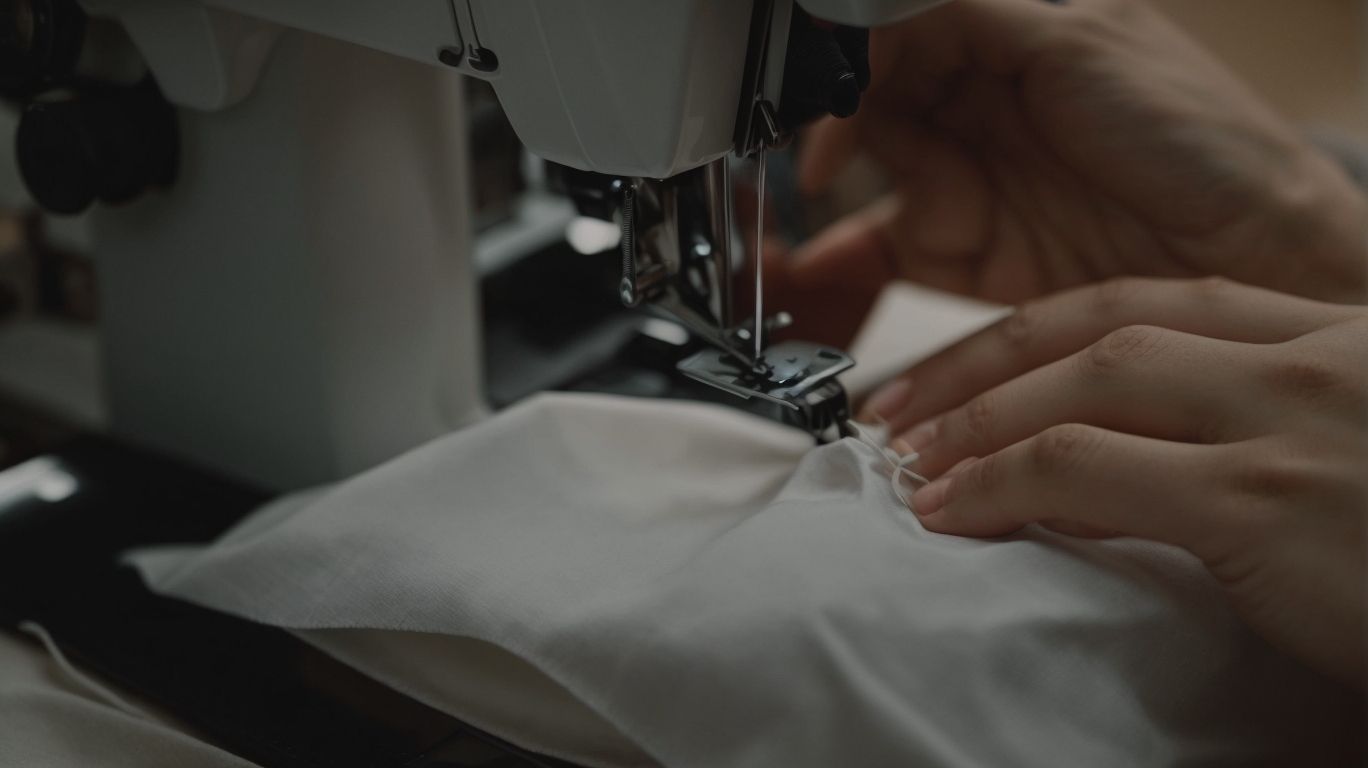
After carefully measuring and cutting the fabric according to the desired size and design, the next crucial step is to neatly sew the pieces together, ensuring clean and smooth seams. Attention must be paid to the hemming process, as it can greatly impact the overall finish of the crop top shirt.
Incorporating embellishments, such as decorative trims or unique patterns, can elevate the style quotient of the garment, making it stand out. It’s important to consider the fit and silhouette of the crop top shirt, ensuring that it complements the wearer’s body shape.
Taking the time to make precise adjustments and alterations during the construction process can significantly enhance the final look and comfort of the garment. Paying attention to the choice of fabric and colour palette can greatly influence the visual appeal of the crop top shirt, ensuring that it aligns with the latest fashion trends while also reflecting the individual’s personal style.
Measure and Cut the Fabric
The first step in creating a crop top shirt is to accurately measure and cut the fabric according to the desired style and fit. Precision in this stage is crucial for achieving the intended design and aesthetic.
Measurement involves using a fabric measuring tape to ensure the accuracy of the dimensions. This includes taking accurate bust, waist and hip measurements, accounting for any style variations such as flared or fitted cuts.
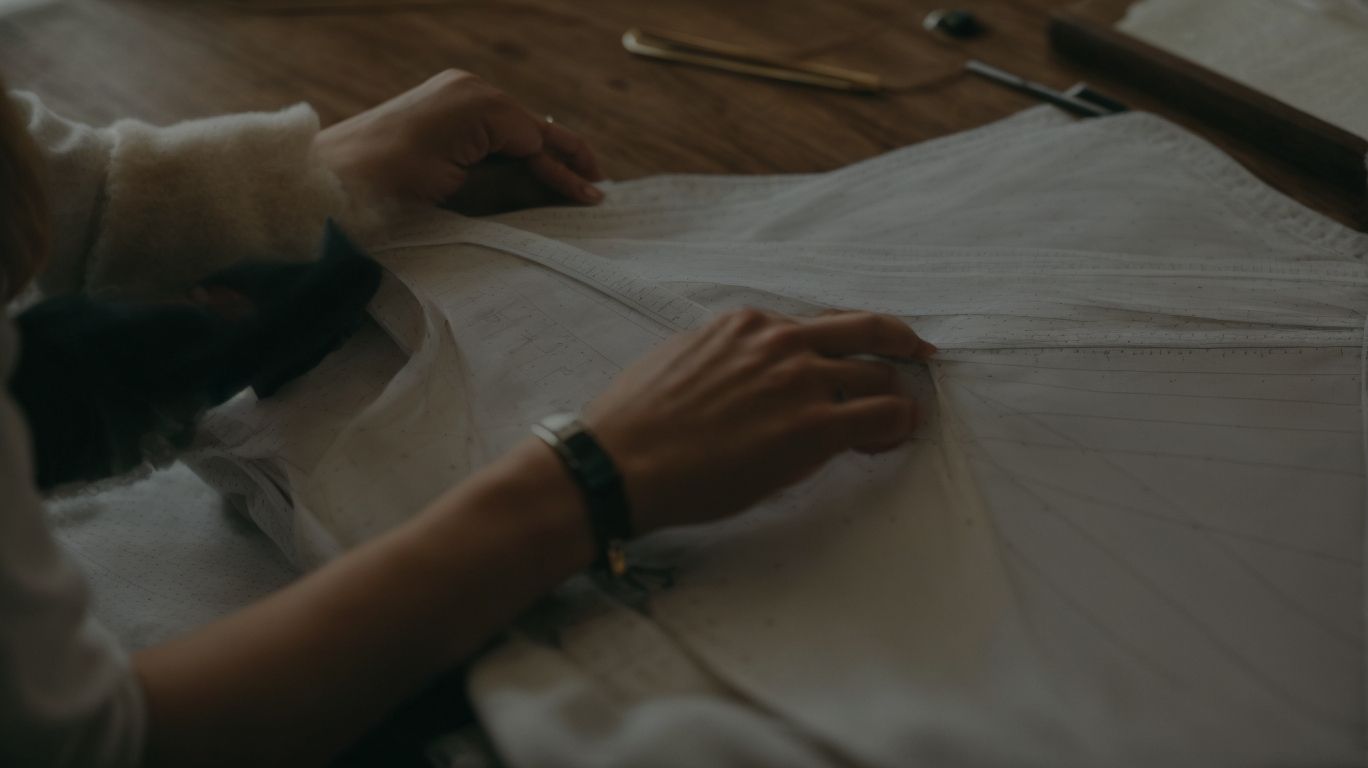
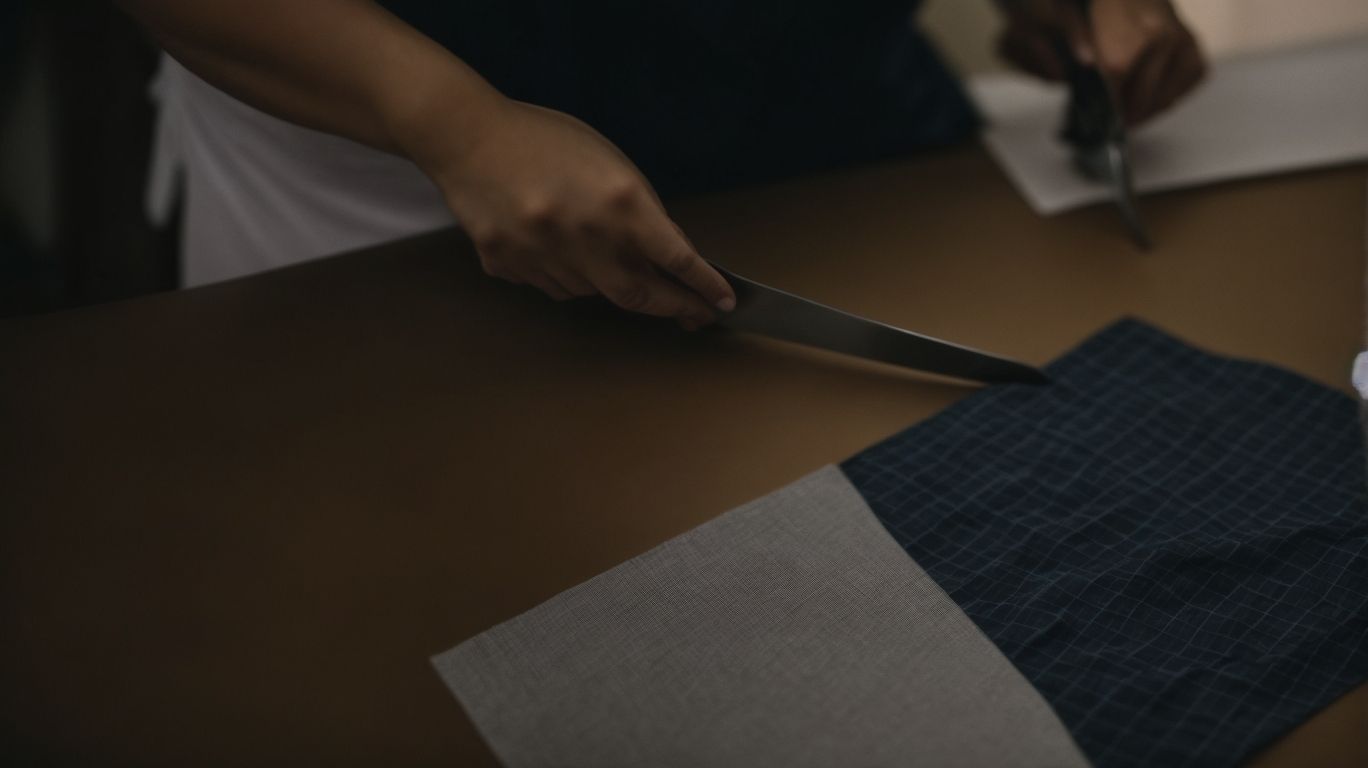
Once the measurements are determined, the fabric is carefully laid out on a flat surface, ensuring it is wrinkle-free, and marked with chalk or fabric pen to indicate the cutting lines. The cutting process requires steady hands and precise movements to follow the marked lines, ensuring symmetrical and clean edges for the crop top shirt.
Sew the Sides Together
After cutting the fabric, the next step involves sewing the sides together to form the basic structure of the crop top shirt. Attention to seam quality and alignment is crucial for achieving a professional finish.
When sewing the sides of the fabric, it’s essential to ensure that the seams are straight and even, as this directly impacts the overall appearance of the shirt.
Aligning the edges accurately and using matching thread enhances the precision of the seams. Reinforcing the seams with a backstitch or using a serger for seam finishing contributes to the durability and polished look of the garment.
Pressing the seams after sewing is a significant step to achieve a neat and crisp finish. Carefully running an iron along the seams will flatten them and give the garment a professional appearance.
It’s also important to trim any excess fabric to reduce bulk and create a smooth silhouette.
Create the Neckline and Armholes
Defining the neckline and armholes is a critical step in customising the design of a crop top shirt. Precision and attention to detail are essential to achieve the desired style and fit.
To start, determining the depth and shape of the neckline plays a pivotal role in shaping the overall look of the crop top. Whether it’s a classic scoop neck, a trendy halter style, or an elegant sweetheart neckline, the choice significantly influences the garment’s visual appeal.
Similarly, the size and placement of the armholes depend on the intended design and the comfort factor. Taking precise measurements and customising these features ensure that the final creation aligns perfectly with the envisioned style and caters to the individual’s unique fit.
Stitch the hem at the bottom of the shirt.
The final step in making a crop top shirt involves hemming the bottom to provide a smart and tidy edge. Attention to detail and quality finishing are essential for a professional and visually appealing result.
When the hem is carefully stitched, it ensures that the fabric is secured and doesn’t fray, enhancing the longevity of the garment. A neatly hemmed edge gives a sense of craftsmanship and attention to detail, elevating the overall look.
Whether it’s a subtle hand-stitched finish or a precise machine-sewn hem, the quality of the hemming technique significantly impacts the shirt’s drape and fit. It’s often the small details, like a well-executed hem, that separate average clothing from exceptional pieces.
What are Some Creative Ways to Style a Crop Top Shirt?
Styling a crop top shirt offers numerous creative possibilities, including pairing it with high-waisted bottoms, layering with a vest, or accessorising with a belt.
These options allow for versatile and personalised fashion expressions.
For a casual daytime look, a cropped graphic tee paired with high-waisted denim shorts creates an effortlessly cool ensemble. The juxtaposition of the cropped top with the high-waisted silhouette adds an edgy and chic touch to the outfit.
On the other hand, for a more elevated and sophisticated appearance, a crop top shirt can be styled with a tulle skirt for a whimsical and glamorous effect. This combination exudes a playful yet elegant vibe, making it perfect for a summer evening soiree or a fun night out with friends.
Match with High-Waisted Bottoms
Pairing a crop top shirt with high-waisted bottoms creates a stylish and flattering ensemble, offering a balance of proportions and accentuating the waistline. It is a versatile and chic choice for various occasions.
When you pair a crop top with high-waisted bottoms, the visual impact is immediate. The combination draws attention to the slimmest part of the torso, creating an illusion of elongated legs and a defined silhouette.
This ensemble exudes a sense of modern elegance, making it suitable for casual outings, evening gatherings, and even semi-formal events.
The high-waisted bottoms add an element of sophistication, and when paired with the right accessories, the outfit can effortlessly transition from a daytime look to an evening ensemble, providing a seamless style transformation.
Layer with a Vest Top
Layering a crop top shirt with a vest top offers a dynamic and adaptable style, providing options for additional coverage or visual interest. This combination allows for creative and personalised fashion statements.
For those seeking additional coverage, incorporating a vest top beneath a crop top offers versatility and practicality. Whether opting for a high-neck vest to create a sleek and modest look or a lace-trimmed camisole for a touch of feminine allure, the possibilities are endless.
On the other hand, for individuals interested in adding visual interest to their outfit, layering these two pieces contributes depth and complexity. Varied textures, patterns, or colours in the vest top paired with the crop top can elevate the overall ensemble, cultivating a style that is uniquely eye-catching and expressive.
This innovative approach to dressing allows for creative expression and individualised fashion statements, enabling individuals to curate ensembles that align with their personalities and aesthetic preferences. It’s an opportunity to merge trend-conscious styling with individual creativity, fostering a sense of confidence and originality in personal fashion choices.
Wear with a Maxi Skirt
Pairing a crop top shirt with a maxi skirt creates a sophisticated and elegant look, blending the trendy nature of the crop top with the grace and flow of the skirt. It offers a fashionable and versatile ensemble for diverse occasions.
Whether it’s a casual daytime outing, a beach holiday, or an evening event, this combination effortlessly transitions from one occasion to another.
The maxi skirt adds an air of elegance with its full-length silhouette, while the crop top infuses a contemporary and chic vibe.
The versatility of this pairing allows for countless styling options. You can play with different patterns, fabrics, and accessories to create unique looks that suit your personal style.
From bohemian-inspired ensembles to more refined and glamorous outfits, the crop top and maxi skirt combination adapts to various fashion preferences.
Accessorise with a Belt
Accessorising a crop top shirt with a belt adds a touch of flair and individuality, allowing for the creation of defined silhouettes and personalised fashion statements. It is a versatile and trendy option for enhancing the overall look.
Belts are amazing accessories that not only provide a practical function of cinching the waist but also serve as a style enhancer. When paired with a crop top, a belt can instantly elevate the outfit by adding shape and structure, making it a perfect choice for those looking to accentuate their waistline.
The beauty of this style choice lies in its adaptability. Whether you prefer a slim, minimalist belt for a subtle touch or a wide statement piece to make a bold fashion statement, the options are endless. Moreover, accessorising a crop top with a belt allows you to express your individual style, whether it’s edgy, bohemian, or sophisticated, creating a unique fashion statement that reflects your personality.
By choosing different materials, colours, or textures for the belt, you can easily transform the look of your crop top ensemble, adapting it to various occasions and moods. From casual daytime outings to evening events, the incorporation of a well-chosen belt can effortlessly transition the outfit, offering versatility and style.
How to Care for Your Crop Top Shirt?
Ensuring the longevity and quality of a crop top shirt involves proper care practices, including washing in cold water, air drying, and storing in a cool, dry place. These measures help preserve the fabric and maintain the garment’s aesthetic appeal.
To best care for your crop top shirts, it’s important to use a mild detergent. This will prevent harsh chemicals from damaging the fabric. Remember to turn the shirt inside out before washing to protect any delicate embellishments or prints.
When drying, it’s best to avoid direct sunlight and high heat. These can cause fading or shrinking of the fabric. For storage, neatly fold the crop top instead of hanging it, as this can stretch the fabric. Placing tissue paper between folds can also help prevent creases and wrinkles.
By following these simple steps, you can ensure that your crop top shirts stay in top condition for years to come.
Wash in Cold Water
Washing a crop top shirt in cold water helps to prevent colour fading and fabric damage, preserving the garment’s visual appeal and structural integrity. It is a simple yet effective care practice for maintaining the shirt’s quality.
When you wash a crop top shirt in cold water, the lower temperature helps to prevent the colours from bleeding or fading, thus keeping the shirt looking fresh and vibrant for longer periods.
Cold water is gentler on the fabric, reducing the risk of shrinkage or damage to the fibres, which ultimately extends the lifespan of the garment. This method is particularly beneficial for delicate fabrics such as silk or wool, as it minimises the risk of distortion or stretching.
Hang or Lay Flat to Dry
Opting to hang or lay a cropped top shirt flat to dry prevents stretching and distortion, maintaining the garment’s original shape and fit. It is a care practice that contributes to the longevity of the shirt.
Air drying your cropped top shirts is a great way to preserve their quality. It avoids the harsh heat of a dryer, preventing shrinkage and damage to delicate embellishments or designs. Plus, it reduces the need for ironing or steaming, which can further extend the lifespan of your garment.
Refrain from using the tumble dryer
Avoiding the use of a tumble dryer when caring for a crop top shirt helps prevent shrinkage and fabric damage, ensuring the preservation of the garment’s original size and quality. It is a precautionary measure for maintaining the shirt’s integrity.
Exposing crop top shirts to high heat in a tumble dryer can cause the fabric to constrict, resulting in shrinkage and loss of shape. This can greatly impact the fit and appearance of the garment, creating an unflattering look.
The intense heat from the tumble dryer can also damage delicate fabrics commonly used for crop tops, such as cotton, polyester, or blends. This damage can lead to wear and tear on the fabric, reducing the shirt’s lifespan.
Store in a Cool, Dry Place
Storing a crop top top in a cool, dry place protects the fabric from moisture and potential damage, contributing to the preservation of the garment’s quality and aesthetic appeal. Proper storage enhances the longevity of the top.
When exposed to humidity, crop top tops are susceptible to mildew, mould, and fabric deterioration, which can significantly impact their appearance and textile integrity.
To prevent this damage, it is important to store crop top tops in a cool, dry environment.
This proactive approach to storage helps maintain the freshness, colour vibrancy, and shape of the garment, ensuring it remains in pristine condition for extended periods of time.
Frequently Asked Questions
What materials do I need to make a crop top shirt?
To make a crop top shirt, you will need a pair of scissors, a ruler, a sewing machine, thread, pins, and fabric of your choice.
Can I make a crop top shirt without a sewing machine?
Yes, you can hand sew a crop top shirt if you do not have a sewing machine. However, it may take longer and require more effort.
How do I measure the length for my crop top shirt?
To ensure the perfect crop, measure from the top of your shoulders to the desired length on your torso. Keep in mind that the shirt will shrink a little after sewing, so add an extra inch if needed.
What type of fabric works best for a crop top shirt?
The best fabrics for a crop top shirt are lightweight and breathable, such as cotton, linen, or jersey knit. These fabrics will provide comfort and allow for easy movement.
Can I recycle an old t-shirt to make a crop top shirt?
Yes, you can repurpose an old t-shirt to make a crop top shirt. Make sure the fabric is in good condition and has enough stretch for a comfortable fit.
Do I need to hem the bottom of my crop top shirt?
It is not necessary to hem the bottom of the crop top shirt if you are using a fabric that does not fray, such as knit. However, if you are using a fabric that frays, it is recommended to hem the bottom to prevent the shirt from unravelling.